


Installation of KORDEKO Facade Cornices
Not only a beautiful and durable material, but also convenient to install. Thanks to its beauty and lightness, it easily adapts to any facade — from classic to modern.
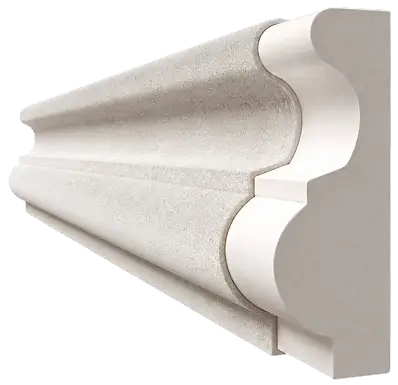
The cornice consists of two parts (sandwich)
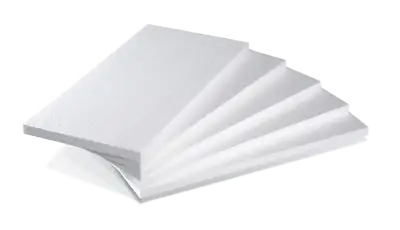
Polystyrene foam
Polystyrene is a lightweight, porous material consisting of polystyrene, where air is enclosed in a polymer base.
Grade: 25 mm or 35 — doesn't affect the result.
Quartz-marble coating, poured over the cornice contour.
Coating thickness: 2 mm, 3 mm or 4 mm — depends on production conditions.
Mixture composition:
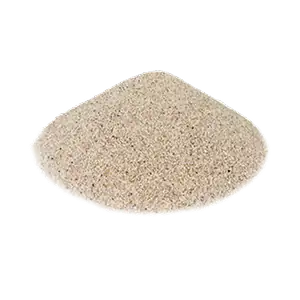
Quartz sand
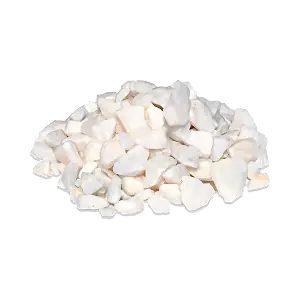
Marble chips
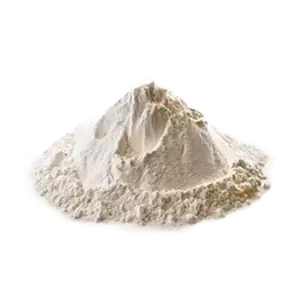
Marble flour
Acrylic binders
Plasticizers and other additives
Required tools:
Minimum toolkit for successful cornice installation
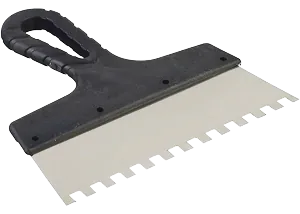
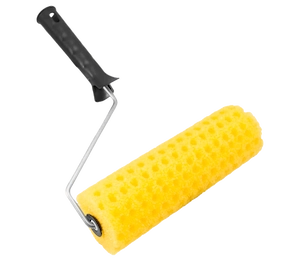

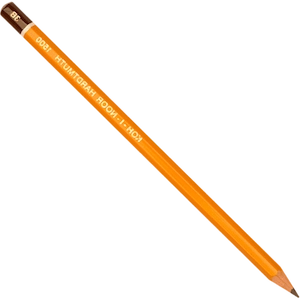

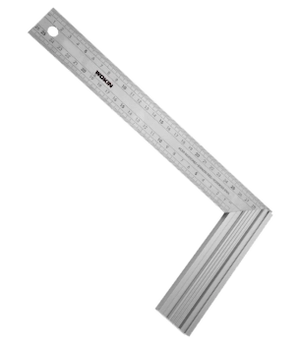
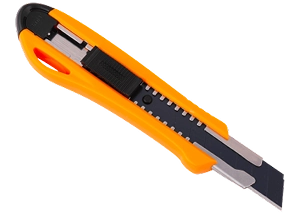
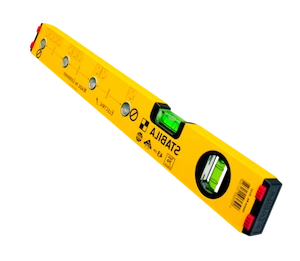
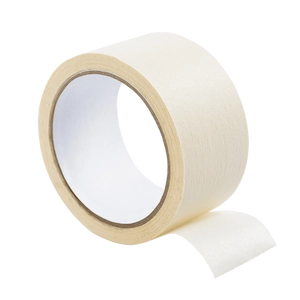
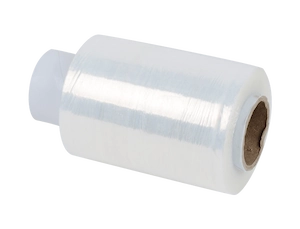
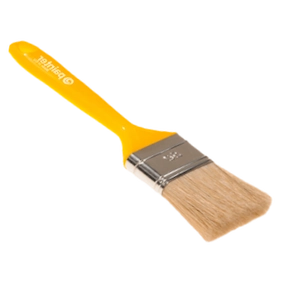

Cornice installation:
Installing decorative cornices requires careful preparation and adherence to the sequence of steps for a durable and aesthetic result.
The correct installation sequence directly affects the lifespan of the cornice — do not skip any step.
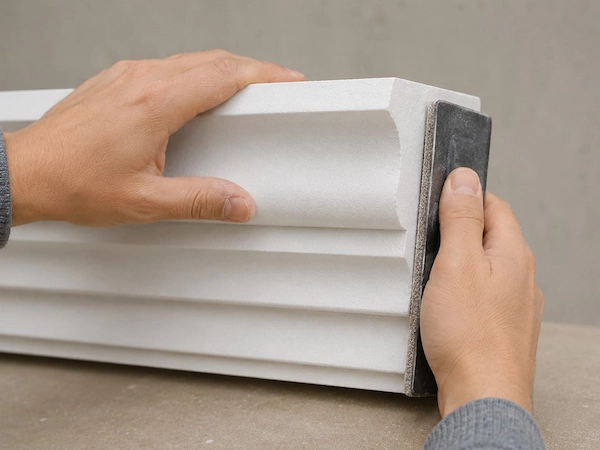
Cornice preparation:
- All cornices must be cut to the required dimensions before installation.
- Angular joints are cut at 45° for precise fitting at corners.
- Edges are smoothed with sandpaper for better adhesive bonding.
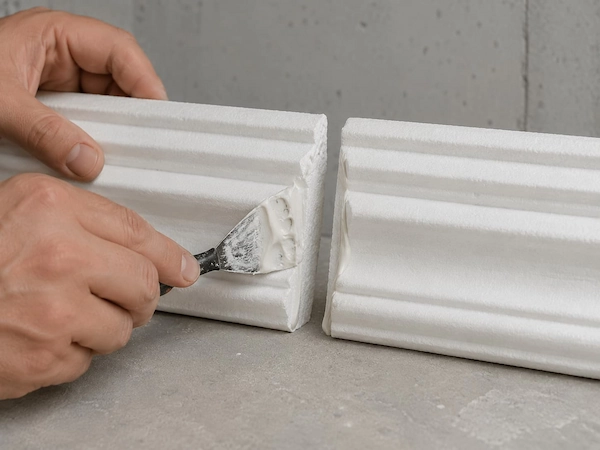
Cornice joining:
- A polymer-based cement adhesive is used for joining.
- Adhesive is applied to the cornice end, then elements are pressed firmly together.
- Excess adhesive is immediately removed with a damp brush.
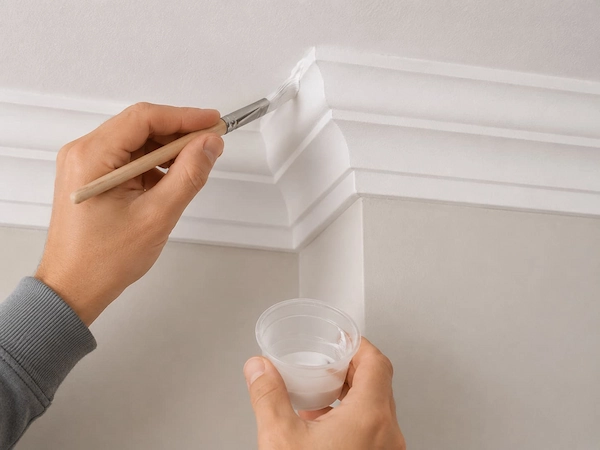
Seam sealing:
- After joining, a liquid acrylic membrane is applied to the seam.
- The membrane protects the seam from moisture and temperature fluctuations.
- After drying, the seam surface is leveled and primed.
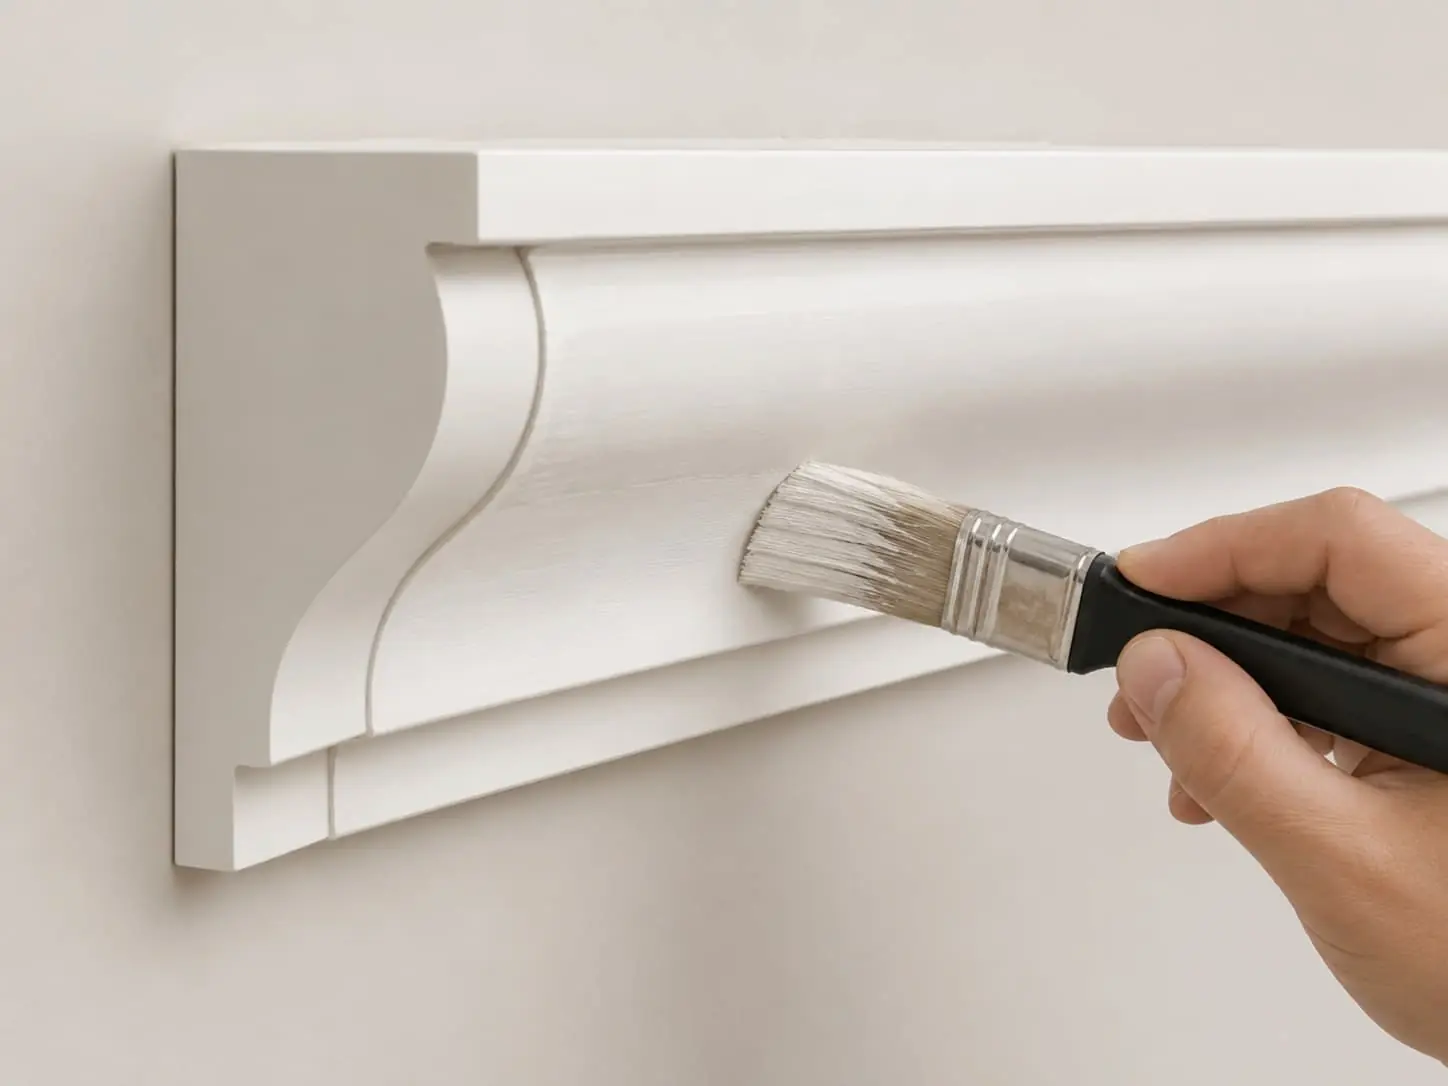
Choosing paint
Paint is chosen depending on the surface type and desired effect. There are two main types for cornices.
Using the wrong paint may cause coating to peel — confirm compatibility with the cornice material before applying.
Structural-decorative paints:
- The surface requires preliminary application of marble primer.
- Contains fine particles that form a light decorative texture.
- Helps conceal small irregularities and makes the surface more textured.
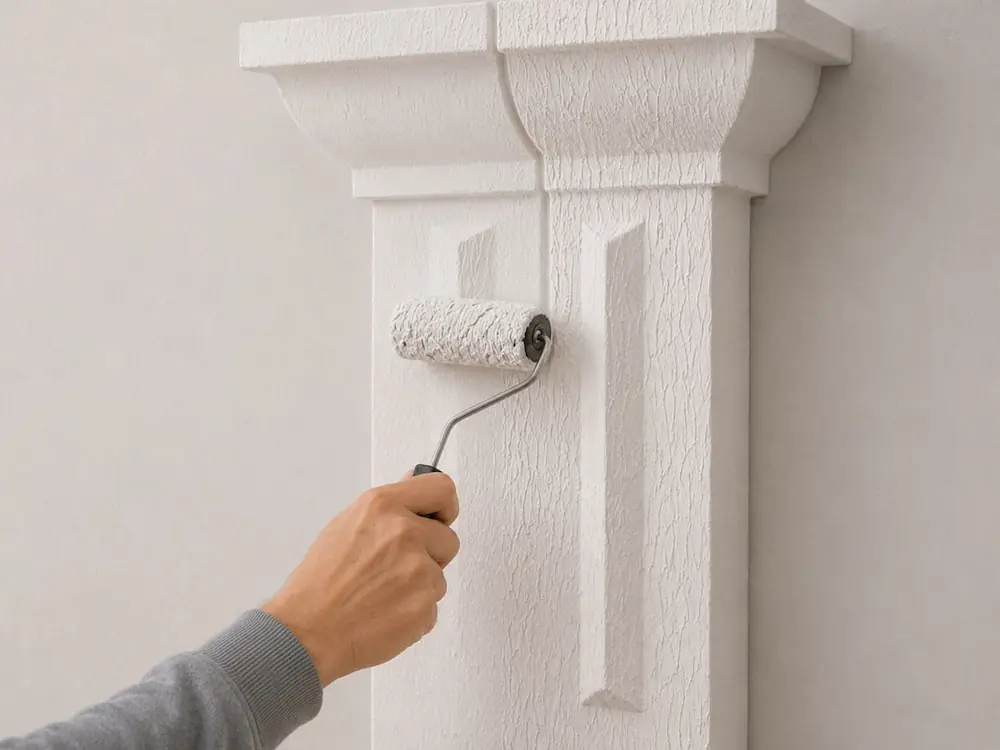
Smooth paints:
- Requires a perfectly prepared, flat and clean surface.
- Uses deep penetration primer — liquid, without pronounced texture.
- Emphasizes smoothness, so installation must be done precisely.
Why trust installation to professionals?

Ideal look
neat installation and protection

Guarantee
strength and durability

25 years
of facade finishing experience

Time
fast and quality work
Ready to order cornice installation?
- ·Get a free consultation on installation
- ·Find out which cornice type suits your facade
- ·We answer all questions and help you make the right choice