

Guide to
facade insulation
Facade insulation
Facade insulation is an effective way to make your home warmer, reduce heat loss and extend the life of your walls.
View flexible tilesKey benefits
of facade insulation

Reduced heat loss
Keeps heat inside the home in winter and reduces wall overheating in summer.

Energy savings
Reduces gas and electricity costs through more stable indoor temperatures.

Facade protection
Reduces the impact of moisture, temperature changes and external damage.

Sound insulation
Reduces street noise and makes the home more comfortable inside.

Wall durability
Extends the lifespan of the facade and reduces the risk of foundation deterioration.

Condensation protection
Reduces the likelihood of dampness, mold and mildew.

Comfortable microclimate
Helps maintain a more stable temperature indoors.

Improved appearance
Makes the facade neater, more modern and visually complete.
Types of insulation
We review which type of insulation works best for facades.
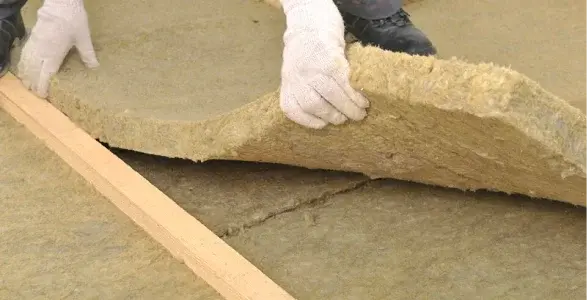
Mineral wool
Mineral wool is a fibrous material with excellent sound insulation and vapour permeability.
Advantages:
 Good sound insulation.
- Non-flammable and resistant to high temperatures.
- Vapour-permeable, preventing condensation.
Mineral wool installation notes:
Before applying adhesive, the mineral wool surface must be saturated with liquid adhesive mortar for better bonding.
Fixing is done with special mechanical-stem dowels.
EPS foam
(granular and extruded)
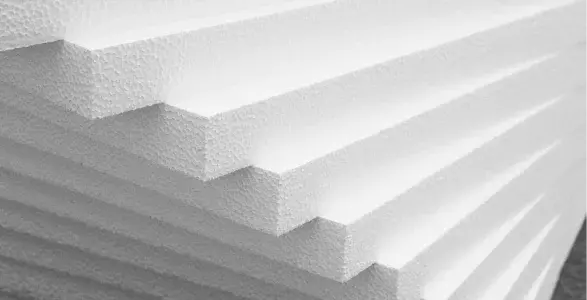
EPS foam is a lightweight and affordable material with good thermal insulation properties.
Comparison of foam types
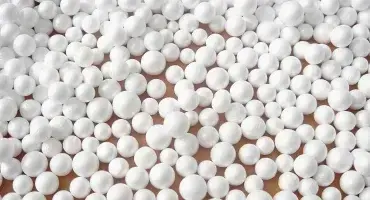
Granular expanded polystyrene
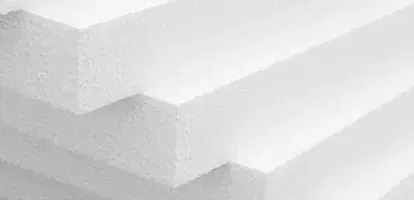
Extruded polystyrene
Density
Moisture resistance
Strength
Price
-
 Lower
Lower
-
Medium
-
Lower
-
Lower
-
Higher
-
High
-
Higher
-
Higher
Comparison of foam types
Granular expanded polystyrene
Extruded polystyrene
Density
Moisture resistance
Strength
Price
-
Lower
-
Medium
-
Lower
-
Lower
-
Higher
-
High
-
Higher
-
Higher
Surface preparation:
Before installing insulation, the wall surface must be carefully prepared:
Surface
cleaning:
- Remove crumbling areas.
- Wash walls if dusty.
- Prime walls if they are soft or crumbling.
Wall
leveling:
If the wall has significant unevenness, apply a leveling plaster coat (optional).
Required tools:
Basic toolkit for reliable insulation system installation
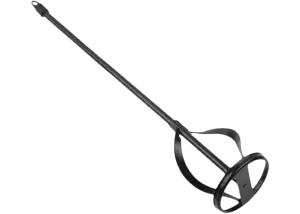
Mixer drill
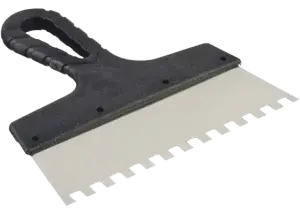
Wide spatulas
(45–60 cm)
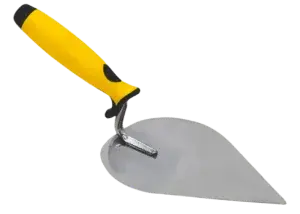
Trowel
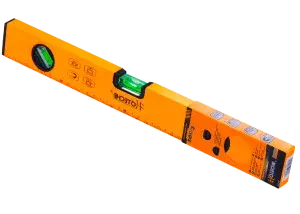
Level and plumb bob
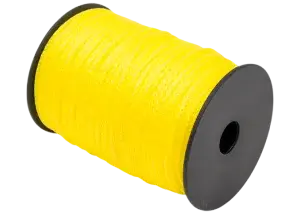
Cords and fishing line
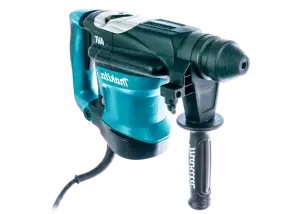
Rotary hammer
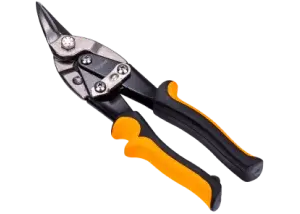
Metal scissors
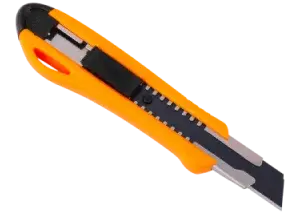
Scalpel or utility knife
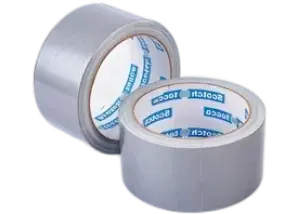
Protective film and reinforced tape
Installing insulation
There are two classic methods for gluing insulation:
Important!
EPS foam is glued in a staggered pattern. After gluing insulation, gaps are filled with mounting foam. For mineral wool, adhesive application areas must be pre-treated with liquid mortar.
Spot bonding (for uneven walls):
- Used for uneven walls.
- Adhesive applied at 6 spots per board.
- Minimum adhesive coverage — at least 60% of board area.
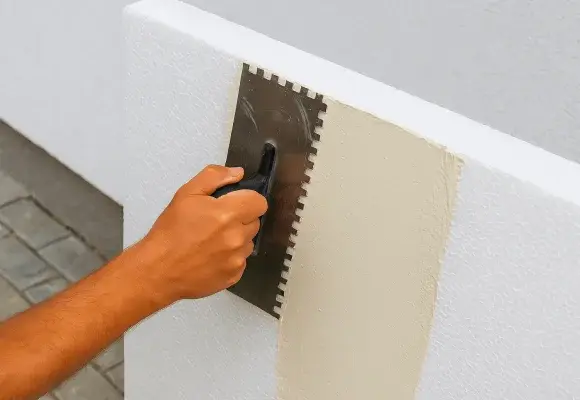
Comb method (full layer):
- Used on perfectly flat walls.
- Adhesive applied across the entire foam surface with a notched trowel.
- Insulation boards are pressed to the wall and leveled.
Dowel fastening
After the adhesive dries, insulation is additionally secured with dowels.
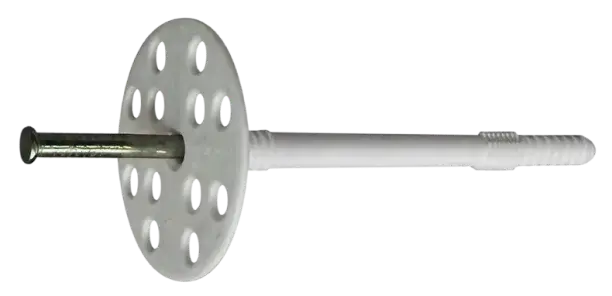
Insulation thickness
10 cm
15 cm
Dowel length
160–180 mm
200–220 mm
Dowel placement:
At board corners.
1–2 dowels at center.
Reinforcement and finish coat:
After securing the insulation, the reinforcement process begins:
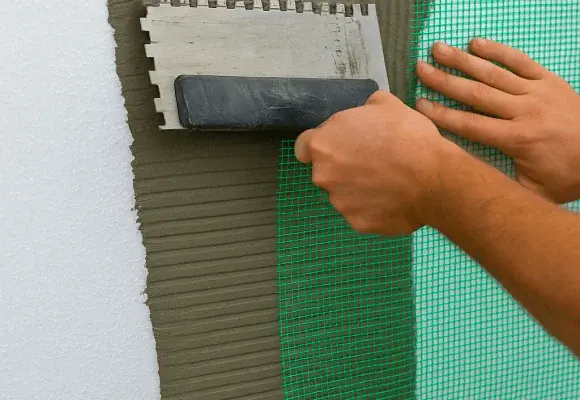
Applying adhesive and mesh:
- First, apply a thin layer of adhesive.
- Then press reinforcing mesh into it.
Never apply mesh to dry foam — it must be embedded in wet adhesive.
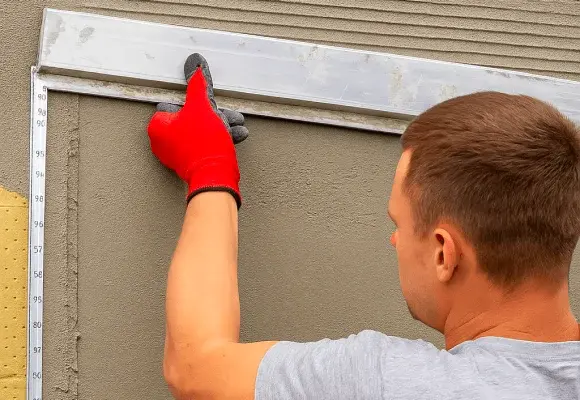
Leveling:
Some craftsmen additionally pass a spatula over the wall along guides. Two methods are possible:
- "thin coat" — a thin adhesive layer;
- "full level" — complete wall leveling.
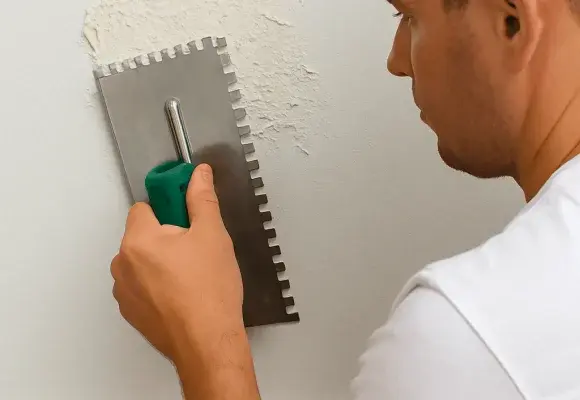
Priming
Always applied before the finish coat.
Finish coat:
Decorative plaster can be applied.
For flexible stone, tile adhesive is required.
Common mistakes
Even small mistakes in facade insulation can lead to serious consequences.
EPS foam grades for insulation
Not every foam is suitable for facade work: the right grade ensures strength, stability and insulation durability.
Most
commonly used
EPS 80
(density 25 kg/m³).
Other grades:
EPS 15
too soft, not suitable for facades.
EPS 30
stronger, but more expensive.
Conclusion
Quality facade insulation is the key to comfort, durability and energy efficiency. Following proper installation techniques, choosing quality materials and a professional approach will ensure reliable thermal insulation for many years.
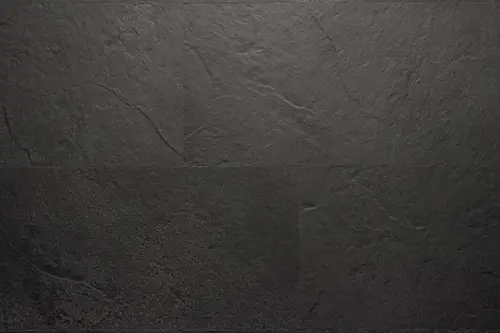
Flexible stone
an excellent solution for decorative finishing of insulated facades
EPS foam
the best option for budget insulation.
Mineral wool
preferred when vapour permeability and sound insulation are needed.